


A caddie uniform can look convincing from across the room, then fall apart in the details. A loose patch on a bib, a nameplate that twists during a round, or lettering too small to read in a photograph can make an otherwise polished outfit look like a rushed costume. The right custom logo patch solves more than decoration. It gives the uniform a clear identity while surviving movement, handling, washing, and repeated use.
Caddie uniforms and bibs also create a difficult design problem. Their patches need to look sharp at relatively small sizes, but they must remain attached while the wearer bends, walks, carries equipment, and moves through an active event. Buyers who choose the artwork first and the attachment method later often end up compromising both appearance and durability.
The Value of a High-Quality Custom Logo Patch
A cheap patch usually reveals its weaknesses quickly. The border begins to lift, the surface loses definition, or the logo looks muddy because the lettering was reduced beyond what the material can handle. On a caddie bib, that failure stands out because the patch sits in a highly visible area against a clean garment.
A well-made custom logo patch does the opposite. It gives the eye a strong focal point, frames the name or emblem, and makes a simple white-and-green uniform feel intentional. That matters for a family photograph, a golf-themed birthday, a wedding event, or a group appearance where every small detail appears in close-up images.
The patch carries the character
Caddie style depends on recognizable visual cues. A bright bib, a contrasting hat, a practical nameplate, and a compact logo create the impression of a working uniform rather than a generic golf costume. The patch doesn't need to be elaborate. It needs a clean border, confident color contrast, and enough physical presence to look connected to the garment.
Historical context helps explain why patches carry such strong identity value. Embroidered decoration has roots in ancient textile traditions, while formal unit insignia became established in military clothing during the early twentieth century. The 1st Infantry Division's “Big Red One” was first issued as an official U.S. military shoulder sleeve insignia on October 31, 1918, as documented in the history of embroidered patches.
The modern removable patch became more practical after Swiss engineer George de Mestral patented the hook-and-loop fastening system in 1955, a development associated with Velcro and later used for apparel and uniforms. Military demand during World War II also helped move embroidered patches from niche insignia toward mass production, while commercial embroidery equipment expanded their use into workwear, sports, and corporate branding. These milestones are outlined by the Lemelson-MIT account of George de Mestral.
Practical rule: A patch should make the uniform look more deliberate, not compete with the person wearing it.
Quality is visible before durability is tested
A professional patch has a defined edge, stable backing, and artwork suited to the chosen stitch or molded surface. The logo should read at the distance where guests, photographers, and teammates will see it. A patch that looks impressive only when held inches from the face has failed its main job.
For caddie uniforms, the strongest choice usually balances legibility, contrast, attachment security, and visual restraint. A simple emblem with readable lettering will outperform a crowded reproduction of every detail in a brand mark. The buyer isn't paying for maximum complexity. The buyer is paying for a mark that remains recognizable on fabric.
Choosing the Right Patch Material and Style
Material changes the personality of a patch as much as the artwork does. Embroidery feels traditional and textured, woven construction looks flatter and cleaner, PVC feels modern and weather-ready, and leather signals a more premium or heritage-led style. The right choice depends on the logo, the setting, and the way the caddie outfit will be used.
A formal tournament-inspired photo shoot usually benefits from embroidery or woven construction because both integrate naturally with fabric. A casual outdoor party can support PVC, especially when moisture and rough handling are likely. Leather can work for a fashion-led hat or a restrained wordmark, though it can feel out of place on a bright novelty bib.
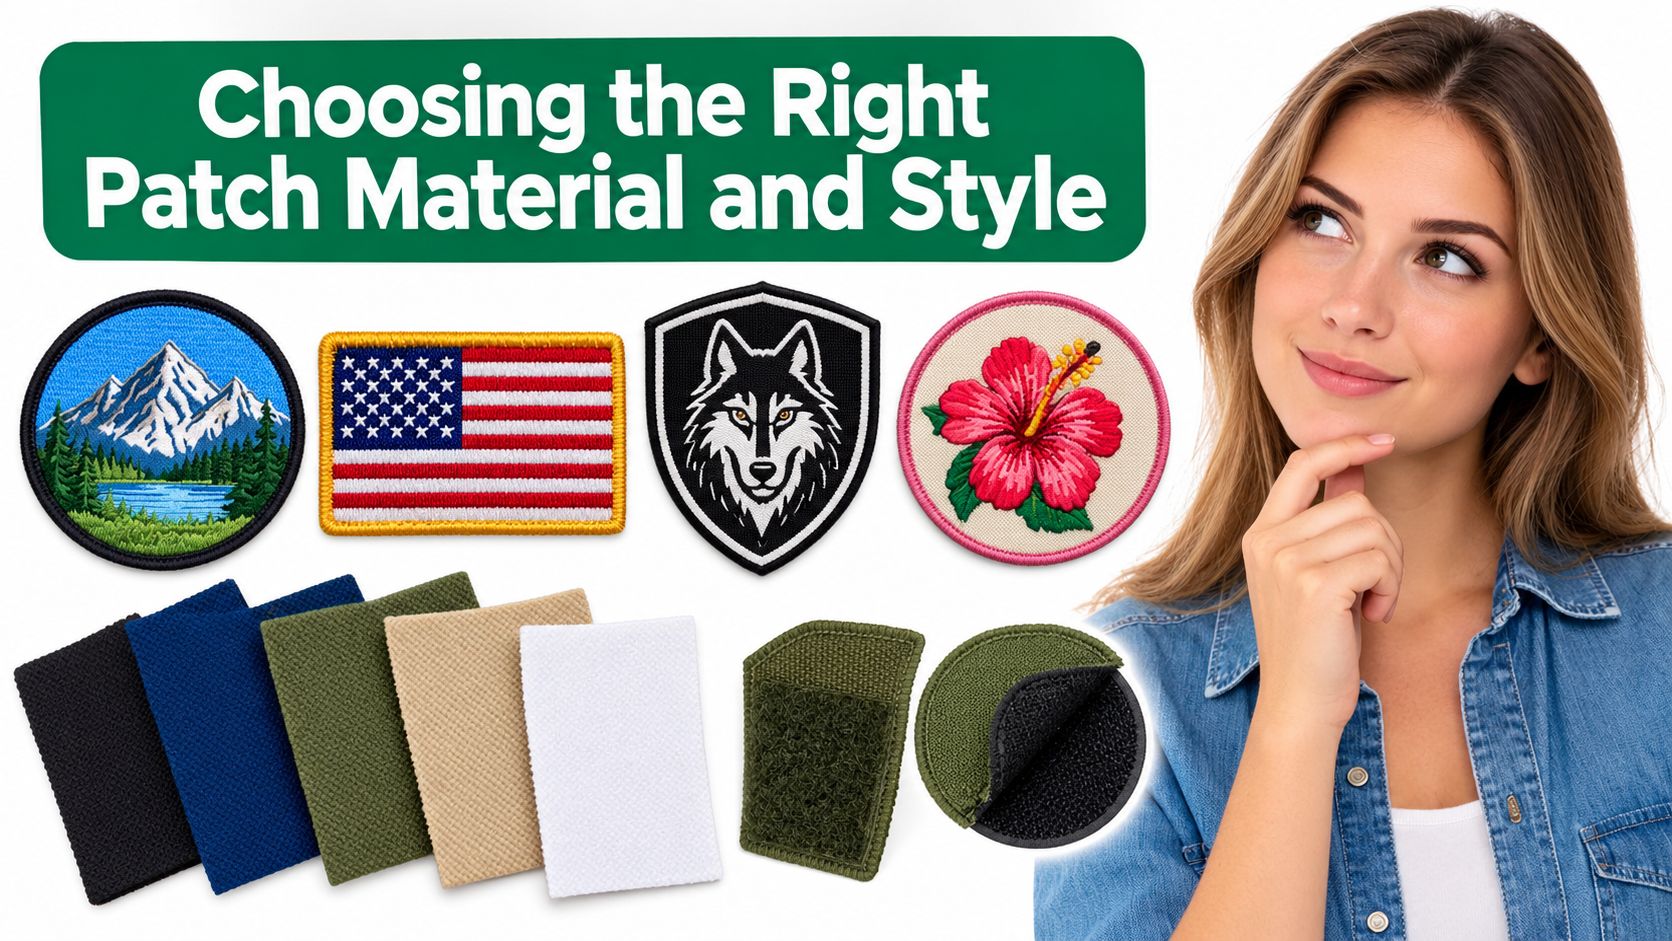
Patch material comparison
| Material | Texture | Best Use Case | Durability |
|---|---|---|---|
| Embroidered | Raised, tactile, and traditional | Caddie bibs, team marks, classic logos, and bold lettering | Strong for regular apparel use when the border and backing are properly finished |
| Woven | Flat, smooth, and detailed | Small lettering, fine line work, and compact logos | Holds a clean surface well, though the thin profile offers less texture |
| PVC | Rubber-like and molded | Outdoor events, modern logos, and garments exposed to moisture | Resists water and handles active use well |
| Leather | Firm, premium, and understated | Hats, simple wordmarks, heritage styling, and fashion-led outfits | Can age attractively, but requires more care than synthetic surfaces |
Embroidered patches remain the safest visual choice for a classic caddie appearance. Their raised thread gives the logo definition, and the stitched border creates the framed look associated with uniforms and team apparel. Woven patches are the better answer when small lettering matters more than texture, because the flatter construction leaves finer details less obstructed.
PVC earns consideration when the garment will face damp conditions, outdoor storage, or heavy handling. Its smooth surface is easy to wipe, but its molded appearance can look too technical for a vintage or formal caddie concept. Leather has the strongest style signal of the four. It suits a simple mark, particularly on a hat, but it isn't the first choice for a colorful logo with several small elements.
For a product designed specifically around a removable uniform detail, buyers can review the customized logo patch options before settling on the final material and shape. The key is to approve the material and the attachment together, not as separate decisions.
Match the material to the logo
A bold symbol with thick lettering can thrive in embroidery or PVC. A compact logo with thin lines may look cleaner in woven construction. A one-color wordmark can suit leather, while a multi-color emblem often benefits from embroidery because thread adds separation between color blocks.
The patch should also match the garment's role. A child's Halloween bib can carry more novelty and texture than a formal event uniform. A family group may choose one consistent embroidered style across adult and children's pieces, while a photographer or event planner may use a removable set so the same garments can support different themes.
Attachment Methods Velcro, Sew-On, and More
The attachment method determines whether a patch behaves like a permanent uniform component or a reusable identity panel. For caddie uniforms and bibs, removable hook-and-loop backing is the practical choice because names, numbers, logos, and themes often change from one event to another.
Hook-and-loop backing has two sides. The hook side grips the loop surface mounted to the garment, allowing the patch to come away without removing the bib or coverall from service. When the attachment system is built properly, the patch can be removed and reattached repeatedly, and the hook side can be replaced if wear develops while the patch remains usable, as described in this comparison of patch backing methods.
How to choose the attachment
Hook-and-loop backing should be the default for active caddie wear. It supports a practical rotation of nameplates, numbers, sponsor marks, and seasonal designs. It also makes laundering and storage easier because the patch can be removed before the garment is cleaned.
Sew-on backing suits a permanent logo that will stay on one bib or coverall. Stitching creates a secure connection, but it takes more time to remove and can leave needle marks or visible stitching after the patch is changed. Sew-on is appropriate when the garment represents one fixed team or event.
Iron-on backing offers a fast initial application, but heat-bonded adhesive isn't the strongest long-term answer for a garment that bends, flexes, and gets washed. It can work for occasional costume use, provided the fabric tolerates heat and the buyer follows the application instructions precisely.
The attachment choice should follow the garment's expected life:
- Frequent identity changes: Use hook-and-loop backing for names, numbers, and interchangeable logos.
- One permanent design: Use sew-on construction when the patch won't need to move.
- Occasional, low-stress use: Consider iron-on only when convenience matters more than repeated reuse.
A removable patch is valuable only when the garment-side loop panel is positioned correctly and stitched securely.
Placement matters as much as backing
A patch placed on a flat portion of a bib will sit more cleanly than one forced over a curved seam, pocket edge, or heavy fold. The patch should have enough surrounding fabric to lie flat while the wearer walks and bends. On a hat, the front panel needs a design that follows its available shape without crowding the crown or brim.
For caddie bibs, a nameplate or logo should be positioned where it remains visible while equipment is carried. If a patch sits beneath a strap or folds under the bib's edge, even a durable backing won't solve the visibility problem. Buyers considering interchangeable naming systems can review the guidance on a custom Velcro name patch before finalizing the placement.
Design Specs and Sizing for Perfect Legibility
Small patches punish complicated artwork. A logo that looks crisp on a screen can lose its identity when reduced for a hat, sleeve, or children's bib. Thread has physical limits, and the finished result depends on patch dimensions, stitch direction, border thickness, letter spacing, and the contrast between foreground and background.
The most common mistake is treating the patch as a miniature printed sign. Embroidery doesn't reproduce every thin line or tiny word automatically. Small lettering may need to be enlarged, simplified, or removed. A simpler version of the logo often looks more professional than a crowded version that technically includes every original detail.
Start with the viewing distance
The design should be judged at the distance where a guest or photographer will see it, not only in an enlarged proof. If the patch is intended for a hat, sleeve, or small bib placement, the designer should ask:
- Can the main symbol be identified immediately?
- Does the smallest lettering remain distinct from the border?
- Are adjacent colors separated clearly?
- Do thin strokes still have enough room to hold their shape?
- Does the design remain balanced when the patch is viewed at an angle?
The guidance on custom embroidered patch trends emphasizes that final legibility depends on patch size, stitch structure, and letter spacing. It also makes the important point that small text often needs enlargement or simplification. More detail isn't automatically more accurate when the material can't physically reproduce it.
Give the maker a usable file
A clean, high-resolution logo file gives the production team a better starting point than a screenshot copied from a website. Vector artwork is useful because it can be resized without becoming visibly blurry, while a high-quality raster file can also work when its edges are clear and its colors are separated.
The buyer should supply the preferred logo, brand colors, intended patch dimensions, garment location, and any wording that must remain. The production proof should show the actual shape, border, and lettering at close to the finished scale. If the proof makes the text look crowded, the artwork needs revision before production.
A practical design brief can specify:
- Primary mark: Keep the central symbol or wordmark dominant.
- Secondary text: Remove small taglines unless they remain readable at the chosen size.
- Border: Use a clear border that separates the patch from the white, green, or patterned garment.
- Contrast: Pair dark lettering with a light field, or light lettering with a dark field.
- Shape: Choose a rounded, shield, circular, or rectangular outline that supports the artwork rather than forcing it into a box.
A buyer planning a coordinated outfit can also review ideas for personalized golf apparel, then reduce the concept to the mark that will clearly read on the finished patch.
Care Instructions and Longevity Tips
Patch care begins with the garment and ends with storage. A durable patch can still suffer if it is washed at an unsuitable temperature, scraped against rough surfaces, or left attached while the garment is aggressively handled. Removable patches give buyers a useful advantage because the patch and the garment can be cared for separately.
A simple care routine
Remove first. Take off hook-and-loop patches before washing the bib or coverall. This protects the patch edge, reduces abrasion against other garments, and keeps lint from collecting in the attachment surface.
Close the garment-side fastener. If the loop panel remains on the garment, cover or close it as recommended by the garment maker. Open fastener surfaces can catch fibers and create unnecessary wear.
Wash gently. Follow the garment's care label, use a mild cycle where appropriate, and avoid treating the patch with harsh scrubbing. Spot cleaning is often preferable for a patch that has picked up a small mark.
Dry with restraint. Air drying is the safer choice when the patch includes adhesive, molded material, leather, or a delicate backing. High heat can affect the garment and may weaken some attachment systems.
Store flat. Keep loose patches in a clean, dry container away from direct sunlight. Storing them face to face can rub the stitched surface, so a small amount of separation helps preserve the finish.
Sustainability requires a trade-off decision
Patch materials are moving toward recycled polyester, organic fabrics, recycled plastic threads, and bio-based inputs such as pineapple leaves, cactus, and coffee grounds. This direction gives buyers more ways to reduce reliance on conventional materials, but no material automatically wins every category at once.
A buyer may need to balance washability, durability, appearance, production speed, and material sourcing. A recycled thread option may suit a washable uniform, while a textured or bio-based material may be chosen for its feel and visual character. The most responsible decision is the one that fits the garment's actual service life, because a patch that must be replaced repeatedly can undermine the benefit of a more carefully selected material.
For active caddie wear, removable construction also supports reuse. One bib can carry different names, numbers, or themed logos instead of being replaced whenever the event changes. That reduces unnecessary garment turnover and keeps the patch itself in service when the base uniform remains usable.
Styling and Use-Case Recommendations
The strongest caddie outfits look coordinated rather than overloaded. A patch should support the bib, coverall, and hat, not compete with every other accessory. The most reliable approach is to choose one primary logo, one attachment position, and a restrained color relationship across the outfit.
Match the patch to the event
For a wedding or engagement golf party, an embroidered or woven patch gives the bib a polished identity without making the outfit feel like a novelty costume. A simple monogram, event mark, or family name will photograph better than a crowded graphic.
For Halloween or a birthday party, interchangeable hook-and-loop patches make more sense. A base uniform can carry a nameplate during the event, then switch to a themed logo for photographs or future occasions. Bright green accents and a contrasting cap can reinforce the caddie character without requiring excessive decoration.
For a team event or corporate gathering, consistency matters more than individual experimentation. Matching patch shapes and placements create a unified appearance, while different names or numbers can personalize each garment. Woven construction is a sensible choice when the logo includes compact lettering, and embroidery is stronger when the mark is bold and traditional.
Place each element deliberately
- Bib front: Use the main logo or nameplate where it remains visible during movement and photography.
- Coverall chest: Reserve the clearest area for the primary identity mark, especially if the garment includes pockets or seams.
- Hat front: Use a simplified logo with enough contrast to read against the hat color.
- Secondary accessories: Keep extra marks smaller so the central patch remains the visual anchor.
The outfit can also be completed with practical golf-themed details. Buyers coordinating equipment for a themed event may find useful accessories for golf push carts, particularly when the cart needs to match the caddie-inspired presentation without adding another competing logo.
The premium look comes from agreement between the artwork, the patch material, the placement, and the attachment. None of those decisions should be made in isolation.
The ideal purchasing journey is straightforward. Start with the smallest logo version that remains readable, select embroidery, woven, PVC, or leather based on the event and wear conditions, choose hook-and-loop backing for changing identities, and approve a proof at the actual intended scale. The result should look clear in a photograph, stay secure while the wearer moves, and remain useful after the first event.
Caddie Uniform offers customizable caddie uniforms, bibs, hats, removable nameplates, numbers, and themed logo patches for adults and children. Visit Caddie Uniform to choose a coordinated outfit and build a patch system suited to the event, placement, and level of wear.


