


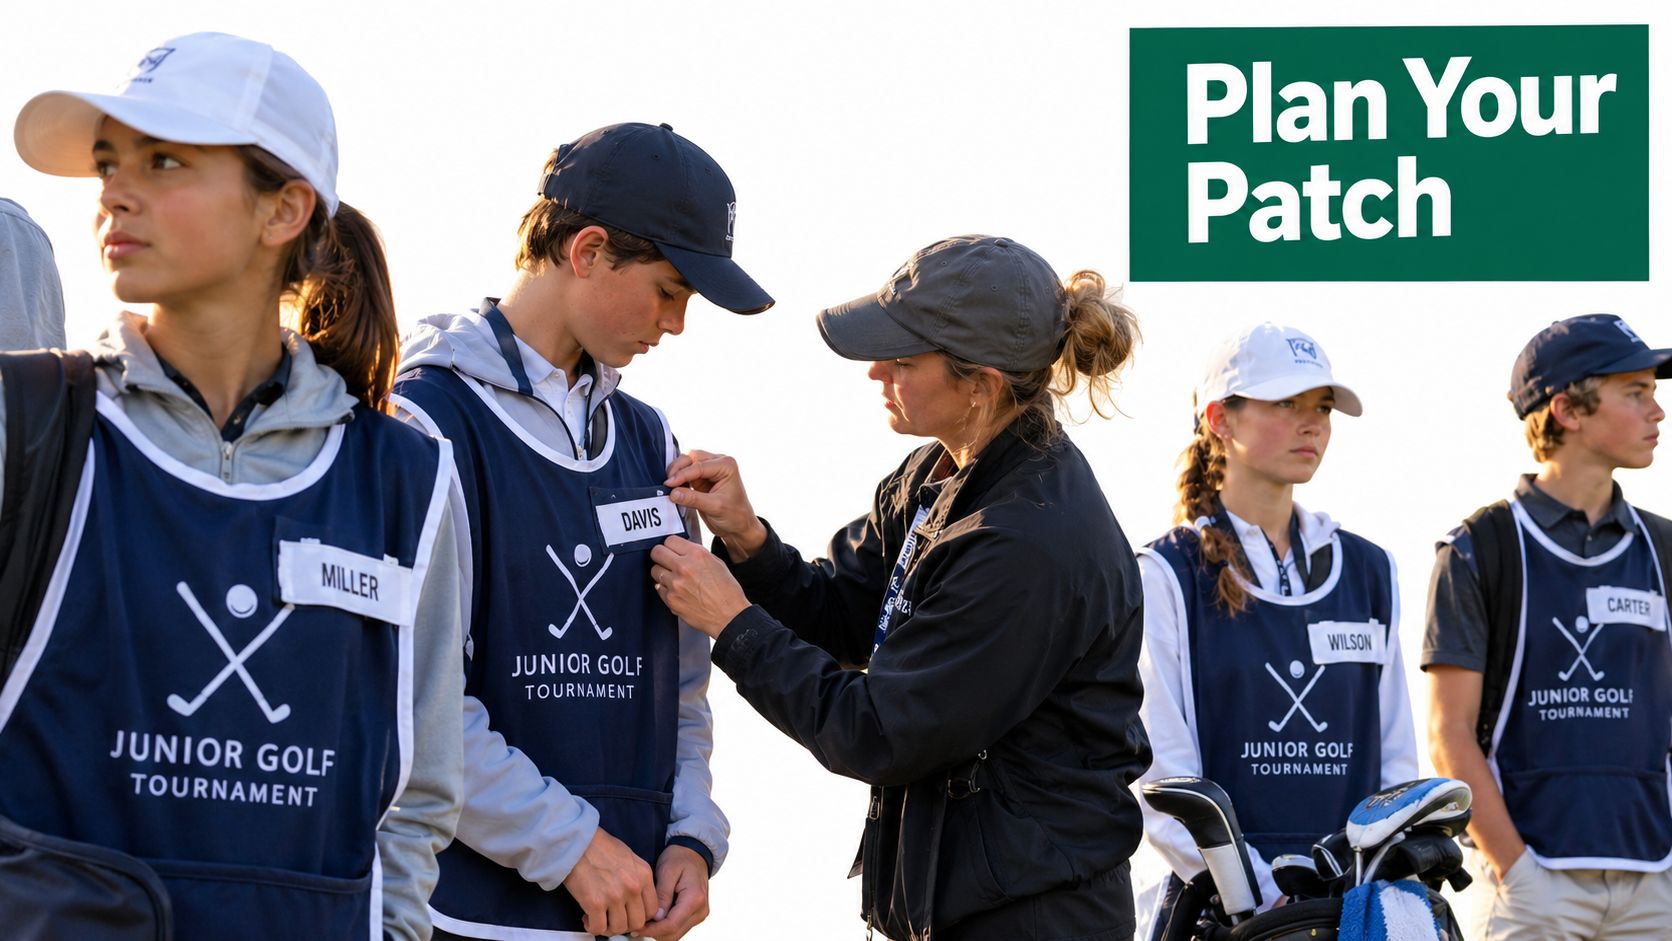
Saturday morning at a junior tournament often reveals whether a custom Velcro name patch system was planned properly. Forty young caddies may be waiting in a staging area, while several names sit crooked, a few loop strips lift from the chest panels, and one child has already swapped bibs with a friend. The patch isn't merely decoration. It has to identify the wearer, fit the garment, survive handling, and move from one event setup to the next.
A reliable order starts with the uniform system, not the artwork alone. Size, face material, backing, receiving loop, placement, and care all affect whether a nameplate stays readable and secure. Hook-and-loop fastening remains useful because it supports repeated removal and reattachment without permanent stitching, an approach connected to the original fastening concept observed by Swiss engineer George de Mestral in 1941 and later commercialized under the VELCRO® brand (the history of hook-and-loop fastening).
Planning Your Custom Velcro Name Patch Order
A caddie coordinator should lock down four decisions before sending artwork: patch size, face material, backing type, and placement. These choices work together. A narrow woven nameplate for a youth bib needs a lighter, flatter system than a larger embroidered logo on an adult vest, and a hat requires a different receiving surface from a flat chest panel.
Start with the garment
Measure the actual bib rather than relying on a standard patch chart. Many caddie bib chest areas provide roughly 4 to 5 inches of flat space, but seams, pockets, mesh, and curved panels can reduce the usable area. A paper rectangle taped to the garment quickly shows whether the proposed nameplate leaves room for the wearer to move and for the name to remain centered.
Decide whether the patch will serve one event or return throughout a season. A one-day costume or tournament may tolerate a simpler attachment method. A shared uniform program needs a dedicated loop field, consistent patch dimensions, and storage that keeps each nameplate paired with its garment.
Choose the face construction
Embroidered twill gives a traditional uniform appearance and suits bold names. Woven labels create a thinner, smoother face that handles smaller lettering more cleanly. Sublimated faces suit artwork with color variation, while PVC works where moisture and abrasion matter more than a soft textile finish.
The receiving side matters just as much. A hook-backed patch needs a dense loop surface. Putting hooks directly against ordinary bib fabric won't create the dependable connection a caddie team expects.
For a broader visual branding workflow, teams creating coordinated event graphics may also find design decals for marketplace sellers useful when planning matching non-uniform artwork.
Before approval, the order file should contain:
- Quantity: Count every bib, hat, spare, and replacement.
- Name list: Check spelling, capitalization, initials, and duplicate names.
- Due date: Allow time for proof approval, production, attachment, and inspection.
- Matching loop panels: Order the receiving surface with the patches if garments don't already have one.
Teams coordinating full apparel packages can also review custom golf uniforms before ordering before finalizing patch specifications.
Designing the Patch Face and Preparing Artwork
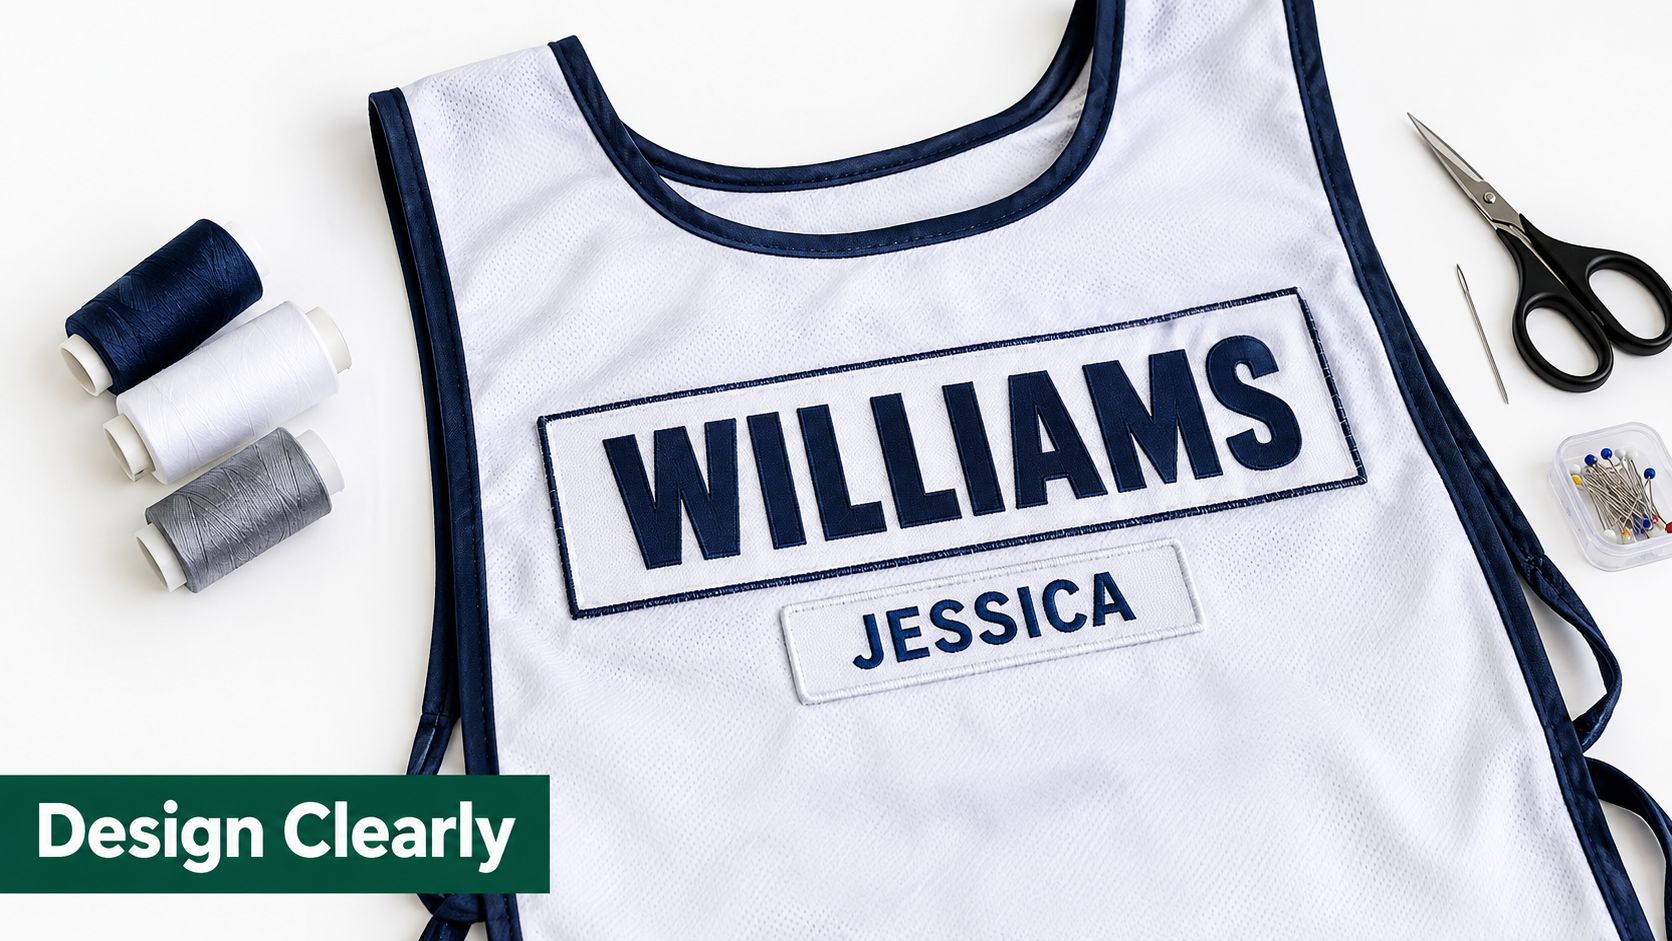
A nameplate that looks sharp on a proof can still fail on a busy golf day. If a parent or event marshal cannot read the wearer's name while the caddie walks from the clubhouse to the tee, the design needs revision. Put the last name in bold block letters across the upper portion, then place a first name or initial below. Keep a club, event, or sponsor mark secondary, positioned beside the name rather than competing with it.
The face construction should match the artwork and the uniform system. Embroidered faces provide thread texture and a familiar uniform finish for bold names. Woven faces stay thinner and smoother, making them better for fine lines and compact lettering. Sublimated faces preserve color variation and detailed artwork, while PVC faces suit wet, abrasive working conditions where a molded surface is more practical than soft textile.
For coordinated branding beyond the nameplate, teams can review our customizable logo patches when planning a consistent patch family for bibs, hats, and replacement garments.
Prepare files for production
Start with vector artwork so the design can be resized without soft edges. A high-resolution raster file can work when prepared at production quality. Send clear color references with the artwork. A screenshot alone may leave the shop guessing about shades.
A restrained palette is easier to reproduce and read across reusable caddie uniforms. Black, navy, white, and tournament yellow cover many practical combinations when the name contrasts strongly with the background. Leave room around embroidered artwork for the border and stitched edge. The production file should include a small bleed so cutting does not crowd the design.
At actual wearing distance, small lettering loses counters and spacing quickly. On a 2-inch patch, letters should be at least 6 mm tall, according to the supplied production guidance (patch construction and embroidery guidance).
Avoid artwork that fails on the machine
Gradients rarely translate cleanly into standard embroidery. Fine script can close up when compressed into a small nameplate. Low-contrast combinations, such as dark green lettering on black, may look refined in a proof but disappear against the bib during an event.
Teams preparing coordinated event materials can also consult Packaging Panda bespoke packaging artwork for practical handling of logos and color references.
Before submitting, check:
- Spelling: Compare every name with the coordinator's approved list.
- Case: Choose all capitals, title case, or a consistent initial format.
- Contrast: View the proof at actual size on white and colored garment backgrounds.
- Hierarchy: Keep the name more prominent than any club, sponsor, or event mark.
- Shape: Use borders simple enough to remain clean after cutting and stitching.
The production proof should show finished dimensions, face material, backing, and intended placement, not only a flat logo file. Keep that approved proof with the order records so replacement patches match the original uniform set.
Choosing Backing and Loop Panel Materials
The patch system has two separate sides. Side A is the hook-backed nameplate, and Side B is the loop receiving panel sewn or attached to the bib, vest, or hat. The patch won't hold properly if either side is wrong, even when the face embroidery is excellent.
Hook backing can be heat-sealed, sewn on, or adhesive. Heat-seal hook is neat and efficient on compatible garments. Sew-on hook is the safer choice for thin or heat-sensitive youth bibs. Adhesive hook is convenient for temporary use, but it shouldn't be treated as a dependable laundering solution.
The loop panel deserves equal attention. A sew-on loop field provides the most secure foundation for garments that return to the wash repeatedly. Iron-on loop tape can work on suitable fabrics, while hat loop strips need to stay low-profile so they don't create a stiff or bulky crown.
| Garment | Hook Backing | Loop Panel | Best Use |
|---|---|---|---|
| Adult caddie vest | Heat-seal hook | Sew-on loop panel | Regular laundering and repeated name changes |
| Lightweight youth bib | Sew-on hook | Iron-on loop tape or sewn loop | Heat-sensitive fabric and supervised event use |
| Bucket hat | Low-profile sewn hook | Hat loop strip | Swappable names without a bulky crown |
| Shared event uniform | Sew-on hook | Purpose-built sew-on loop | Frequent reassignment across wearers |
Match the fastening to the fabric
A heat-seal hook paired with a sewn loop panel is a practical arrangement for adult vests that receive regular washing. On a lightweight youth bib, sewn hook combined with a suitable loop tape avoids putting unnecessary heat on thin polyester. Hats need a slimmer profile because a thick patch can sit awkwardly above the front seam.
Common failures are predictable. Adhesive hook can lift after washing, iron-on loop may curl on moisture-wicking fabric, and hook-on-hook pairing won't grip because both surfaces are the same side of the fastening system. The Caddie Uniform Velcro collection gives coordinators a way to review removable patch components when assembling a compatible setup.
Practical rule: If a bib will be laundered more than ten times in a season, sew the loop panel on.
Industry guidance also describes double-Velcro arrangements as a way to improve attachment security where repeated removal is expected, because the receiving surface is purpose-built rather than incidental garment texture (custom Velcro patch construction guidance).
Sizing and Placement on Caddie Bibs and Hats
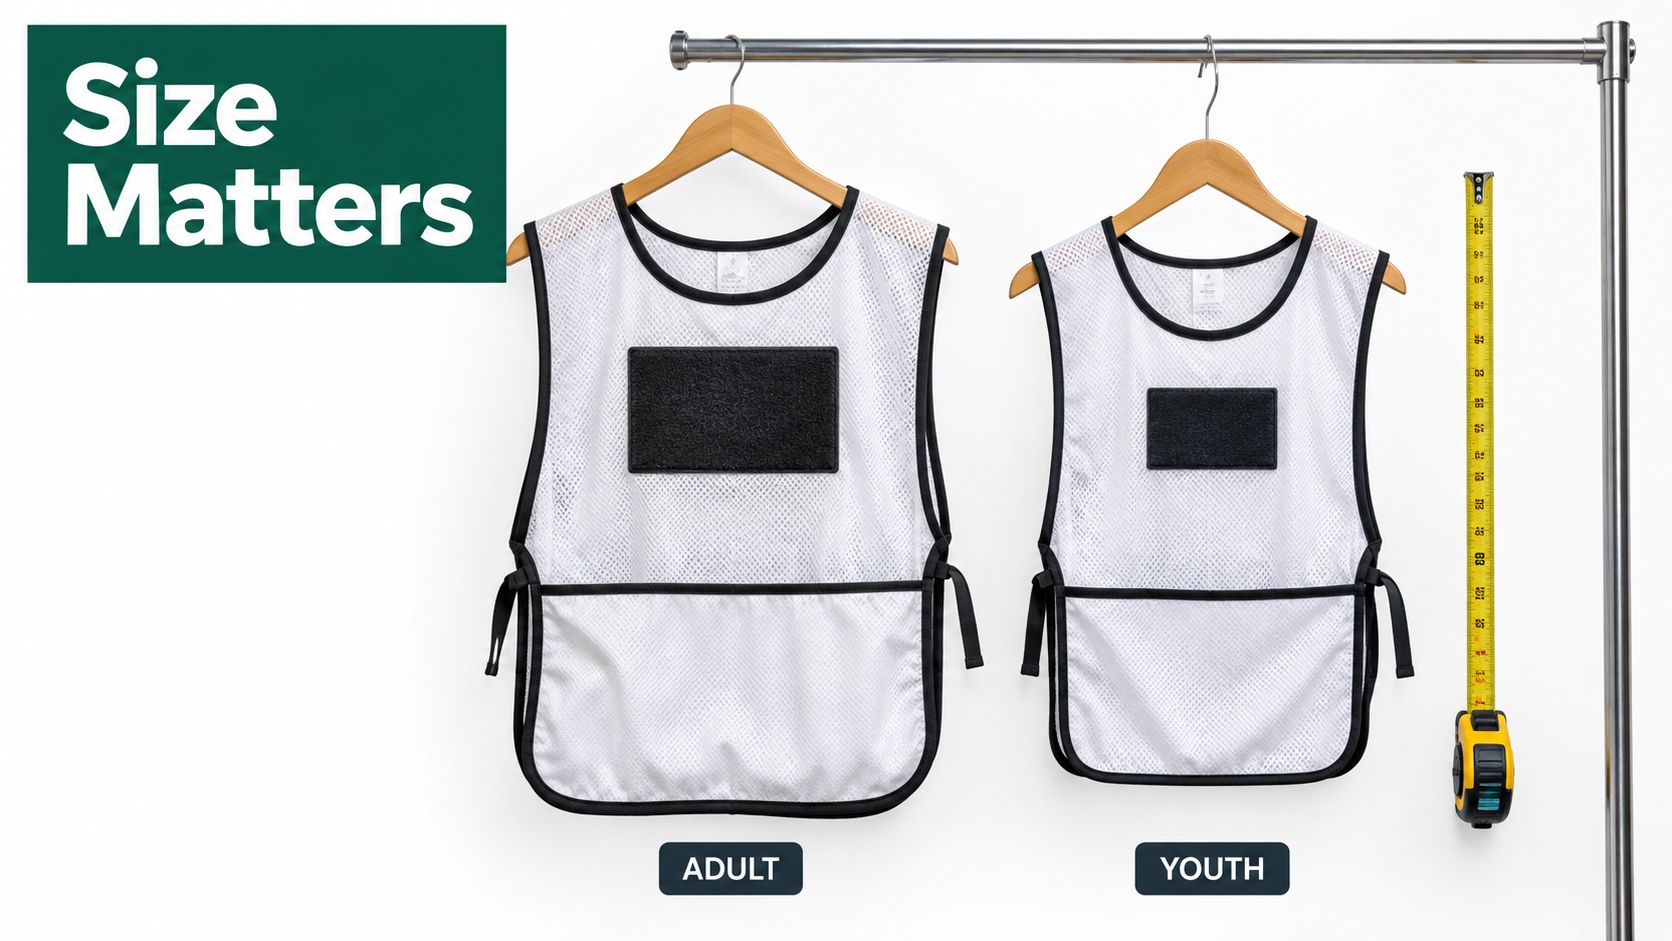
Placement should be tested on the actual bib before any loop panel is attached. A name that sits correctly on an adult vest can look oversized on a youth bib, while a patch placed too close to a pocket can catch during movement or interfere with access.
Use a paper template first
Print or cut paper templates for 7, 9, and 11 cm widths, then tape each one to the garment. Check the name area while the bib is flat and while it is being worn. Mark the top-stitch line, the lower edge of the name field, nearby seams, and the pocket opening.
For adult bibs, keep the name area roughly 4 to 6 cm tall. Youth bibs generally need a more compact 3 to 4 cm height so the patch doesn't dominate the chest. These measurements should be treated as starting points, not automatic specifications, because the name length and face construction still determine the final readable width.
Protect movement and reversibility
On a reversible bib, place the hook patch on one side only unless both faces were specifically designed to carry the added bulk. Align the lower edge approximately 2 cm above the bib pocket opening, then check that the patch doesn't fold when the wearer reaches forward.
A shoulder position can work for role identification, but the chest remains easier to scan when caddies are grouped together. For bucket hats, keep the patch under 6 cm wide and center it above the front seam. A low-profile nameplate is more comfortable and less likely to distort the hat's shape.
A repeatable placement sheet should record:
- Garment size: Adult or youth, plus the specific bib or hat style.
- Template width: The approved paper template used during fitting.
- Reference points: Seam, pocket, front center, and bottom clearance.
- Panel orientation: Hook on the patch, loop on the garment.
- Approval status: Coordinator check before sewing or pressing.
A printable template PDF can turn this into a squad-wide process. The coordinator can test one adult and one youth sample, approve the positions, and use those marked templates for every remaining garment.
Attaching the Patch and Heat Press Settings
Heat-sensitive caddie fabrics punish guesswork. Performance polyester, coated panels, cotton twill, and stretch materials can react differently, so the first application should always happen on a scrap or hidden sample of the same fabric.
For heat-pressed hook-backed patches, a published benchmark lists 255 to 265°F top heat, 315 to 320°F bottom heat, 60 to 80 PSI pressure, and 15 to 18 seconds of dwell time, with a silicone pad protecting the Velcro during pressing (embroidered patch installation guidance). Those figures are a production reference, not permission to skip a fabric test.
Pressing sequence
Pre-press the garment panel for 10 seconds at 140°C to remove moisture, then position the patch and cover it with a Teflon sheet. Apply firm, even pressure across the full face for 12 to 15 seconds at 135 to 145°C, keeping the patch flat and protecting the hook-and-loop side from direct heat.
The supplied installation guidance warns that excessive heat or pressure can deform hook elements, while insufficient pressure or dwell can prevent full engagement between the materials. Hats require particular care because curved crowns don't distribute pressure like a flat bib panel.
| Fabric Type | Temperature | Dwell Time | Attachment Method |
|---|---|---|---|
| Polyester bib | 135 to 145°C | 12 to 15 seconds | Protected heat press after fabric testing |
| Cotton twill | 135 to 145°C | 12 to 15 seconds | Heat press or perimeter sewing |
| Technical stretch panel | Test-based | Test-based | Sew-on hook where heat may distort fabric |
Sewing for a permanent panel
For sew-on hook panels on canvas-style bibs, use a 4 mm straight stitch around the perimeter with a 5 mm seam allowance, and backstitch at the corners. The panel should lie flat without pulling the fabric into ripples.
Before releasing the order, confirm:
- Surface: The panel is clean, flat, and free of loose threads.
- Pressure: The press covers the entire patch face.
- Protection: A silicone pad or Teflon sheet shields the fastening material.
- Fabric reaction: The test sample shows no scorching, shine, shrinkage, or distortion.
- Bond: The patch is allowed to cool flat before repeated handling.
Care, Washing, and Troubleshooting Common Issues
The safest care routine starts by removing the patch before washing. Separate hook and loop faces collect less lint when they aren't rubbing against each other, and the nameplate can be stored flat while the bib or hat is cleaned.
Wash bibs and hats in cold water on a gentle cycle, preferably inside a mesh bag. Tumble dry on low or hang dry. High dryer heat can weaken adhesive backings and curl embroidered edges, while chlorine and bleach can contribute to faded embroidery.
Match the fix to the failure
A loose patch doesn't always mean the embroidered face has failed. The receiving loop may be worn, contaminated with lint, poorly attached, or incompatible with the hook side. Inspect both surfaces before ordering a replacement nameplate.
- Adhesive loop loses grip: Replace the loop panel rather than discarding a readable patch. Adhesive systems suit lighter-duty or temporary applications better than demanding wash routines.
- Sewn loop puckers: The stitching may have been applied while the panel or garment was under tension. Remove the tension, flatten the area, and repair the panel without stretching the bib.
- Edges curl: Excessive press heat or dwell may have distorted the fabric or patch edge. Test a lower setting on matching scrap before reapplying.
- Embroidery fades: Review whether chlorine or bleach entered the wash cycle. Replace damaged faces only after the care process has been corrected.
- Patch won't attach: Check orientation first. Hook needs a dense loop field, not another hook surface or ordinary fabric.
Current patch guidance often emphasizes removability but gives less attention to long-term wash performance, stitching, and loop-panel care (custom Velcro patch durability considerations). That gap matters for parents and coordinators who expect a nameplate to remain readable through costume changes, outdoor handling, and regular laundering.
Remove the nameplate, close or cover the loop field when possible, and keep the hook surface free of lint before storage.
Building a Reusable Patch Kit Across Events
A reusable patch program works best as a small kit, not a pile of loose nameplates. Each caddie should have a matching nameplate, a prepared loop panel on the bib or hat, and a labeled sleeve for event, charity, sponsor, or themed patches.
Color-match the loop panels across the uniform set so the same hook-backed nameplates can move between compatible garments. A coordinator can then change the event identity without changing the entire bib, provided the patch dimensions and panel positions remain consistent.
Organize the inventory
A simple spreadsheet can track:
- Caddie name: The approved spelling and preferred format.
- Panel location: Chest, shoulder, hat, or another approved position.
- Patch inventory: Nameplate, number, event mark, and spare.
- Garment assignment: Adult or youth bib, vest, or hat.
- Condition: Clean, ready, damaged, or awaiting replacement.
Store hook and loop faces paired or covered so lint doesn't fill the fastening surface. Separate each wearer's components in a sleeve or envelope, especially when several children share similar names or when event patches need to be returned after a tournament.
The reusable-system principle also applies to supporting event materials. Coordinators arranging sponsor or creator collaborations may find resources such as gifted collaboration resources useful when organizing the broader event package around uniforms and branded accessories.
Caddie Uniform offers personalized caddie bibs, uniforms, hats, and removable Velcro nameplates for children and adults, allowing coordinators and families to assemble a matching outfit around reusable identification pieces. A nameplate kit should be reviewed before each event, with spelling, panel attachment, patch condition, and garment fit checked together.
Visit Caddie Uniform to review custom caddie uniforms, bibs, hats, and removable name patches for the next tournament, party, photo shoot, or themed event. Send the approved name list and garment details before ordering so the patch size, backing, loop panel, and placement can be matched as one reusable system.


